The Art of Pressure Canning: Mastering the Technique
11xplay.com login, lesar 247.com, tiger 247 login:The art of pressure canning is a time-honored technique that has been used by home cooks for generations to preserve fruits, vegetables, meats, and more. While it may seem intimidating at first, mastering the art of pressure canning is easier than you think with the right tools and knowledge. In this comprehensive guide, we will take you through everything you need to know to become a pro at pressure canning.
Understanding the Basics
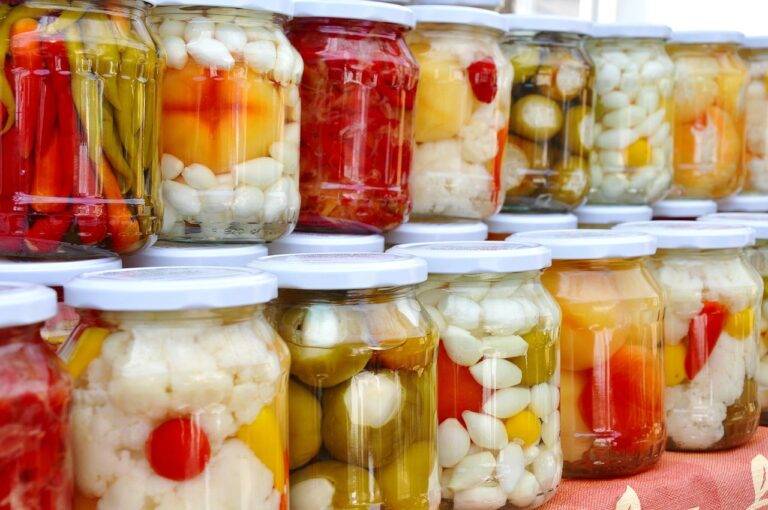
Before we dive into the nitty-gritty details of pressure canning, let’s start with the basics. Pressure canning is a method of preserving food in a sealed jar at high temperatures to kill bacteria and ensure long-term storage. Unlike water bath canning, which is suitable for high-acid foods like jams and pickles, pressure canning is necessary for low-acid foods like meats, vegetables, and soups.
Choosing the Right Equipment
The first step to mastering pressure canning is to invest in the right equipment. You will need a pressure canner, not to be confused with a pressure cooker, which is designed for cooking food quickly under pressure. A pressure canner is specifically made for canning and can reach higher temperatures needed to ensure food safety.
Additionally, you will need canning jars, lids, and rings. Make sure to inspect your jars for any chips or cracks before using them, as this could compromise the seal. It’s also a good idea to have a canning kit on hand, which typically includes a jar lifter, funnel, lid lifter, and bubble remover.
Preparing Your Workspace
Before you start pressure canning, it’s essential to set up a clean and organized workspace. Make sure your countertops are clean, and you have plenty of space to work. Gather all your equipment and ingredients before you begin to streamline the process.
Wash your jars, lids, and rings in hot, soapy water and rinse thoroughly. You can also sterilize your jars by placing them in a large pot of boiling water for ten minutes. Keep your lids and rings in a separate pot of simmering water to soften the rubber seal.
Preparing Your Recipe
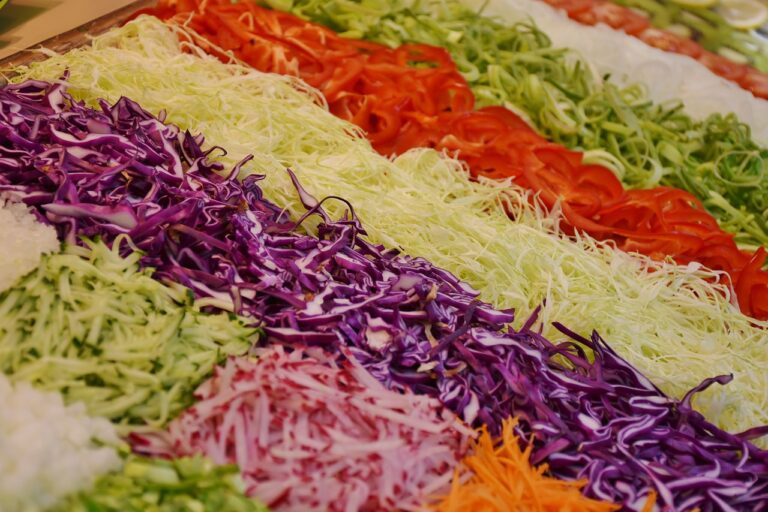
Once your workspace is set up, it’s time to prepare your recipe. Whether you’re canning tomatoes, green beans, or chicken broth, make sure to follow a tested recipe from a reputable source like the National Center for Home Food Preservation. This is crucial for food safety and ensuring your canned goods turn out delicious.
Ladle your hot food into the prepared jars, leaving the recommended headspace as outlined in the recipe. Wipe the rims of the jars with a clean, damp cloth to ensure a proper seal. Place the lids on the jars and screw on the rings until fingertip tight.
Processing Your Jars
Now comes the most crucial part of pressure canning processing your jars. Follow the instructions that came with your pressure canner to ensure you’re using the correct amount of water and pressure for your altitude.
Place your filled jars in the canner, lock the lid, and bring it up to the recommended pressure. Once the canner reaches the appropriate pressure, start the timer according to your recipe. It’s essential to maintain a steady pressure throughout the process, so adjust the heat as needed.
Allow the canner to depressurize naturally once the processing time is up. Do not force-cool the canner, as this can lead to under-processing and spoilage. Carefully remove the jars from the canner using a jar lifter and place them on a towel-lined countertop to cool.
Storing Your Canned Goods
After your jars have cooled for 12 to 24 hours, check the seals by pressing down on the lids. If the lids don’t flex or make a popping sound, they are properly sealed. Remove the rings and wipe down the jars before storing them in a cool, dark place.
Properly canned goods can last for up to a year or more, but it’s essential to label your jars with the contents and date to keep track of what you’ve canned. Use older jars first to ensure you’re rotating your stock and enjoying your homemade goodies at their peak freshness.
FAQs
Q: Can I reuse canning lids?
A: No, canning lids are designed for one-time use only. Reusing lids can compromise the seal and lead to spoilage.
Q: How do I know if my jars are properly sealed?
A: Press down on the center of the lid after the jars have cooled. If the lid doesn’t flex or make a popping sound, it is properly sealed.
Q: Can I adjust the processing time for my altitude?
A: Yes, it’s important to adjust the processing time based on your altitude to ensure proper food safety. Consult a trusted source for altitude adjustments.
Q: Can I use a pressure cooker for canning?
A: No, a pressure cooker is not suitable for canning. It may not reach the necessary temperature for food safety and can lead to spoilage.
Q: How long do canned goods last?
A: Properly canned goods can last for up to a year or more when stored in a cool, dark place. Just make sure to label your jars with the contents and date for easy reference.
In conclusion, mastering the art of pressure canning is a rewarding skill that allows you to enjoy your favorite foods year-round. By following these guidelines and tips, you’ll be well on your way to becoming a pressure canning pro in no time. So dust off your pressure canner, gather your ingredients, and start preserving the flavors of the season today. Happy canning!